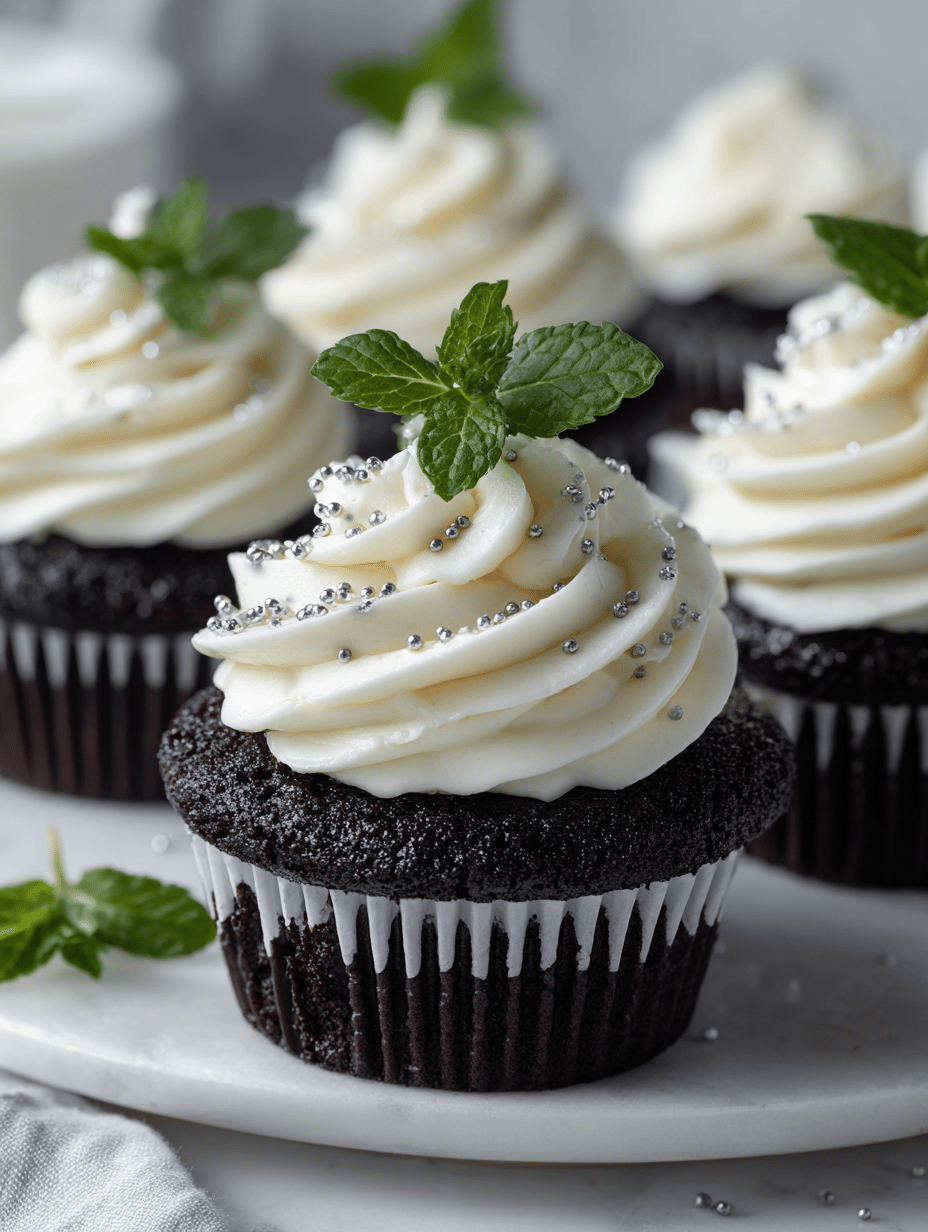
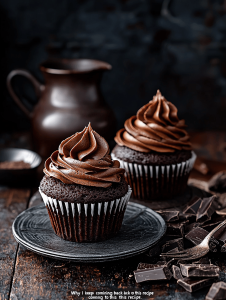
Black velvet cupcakes aren’t just about the dark hue—they’re about embracing a richer, more complex side of chocolate. This recipe is my go-to when I want something that feels a little rebellious but still familiar. The color alone sparks curiosity, and the flavor keeps everyone coming back for seconds.
Why I keep coming back to this recipe
Every time I make these cupcakes, I discover something new—an extra pinch of salt, a dash of espresso powder, or a different kind of dark chocolate. They remind me that baking is about patience and intuition, not perfection. Plus, the deep, smoky flavor is a comfort that feels right for quiet mornings or rainy afternoons—simple, honest, and just a little daring.
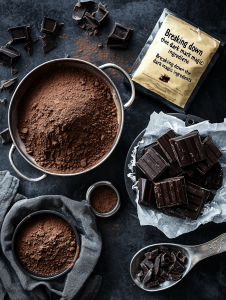
Breaking down the dark magic: ingredients
- Dark chocolate: Gives that deep, smoky flavor. Use good-quality chocolate for richness—avoid milk chocolate here.
- Butter: Adds moisture and tenderness. Unsalted is best, but salted can add a subtle contrast.
- Eggs: Bind everything together and give structure. Room temperature helps everything mix smoothly.
- Sugar: Sweetens and balances the bitterness. Brown sugar can add a slightly caramel note.
- Flour: Provides structure. Sift to avoid lumps and ensure a light crumb.
- Salt: Enhances all the flavors, making the chocolate pop.
- Vanilla extract: A splash lifts the chocolate and deepens the flavor profile.
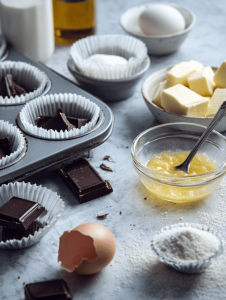
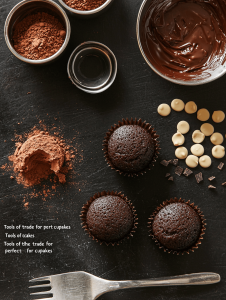
Tools of the trade for perfect cupcakes
- Mixing bowls: To combine ingredients without fuss.
- Saucepan: Melting chocolate and butter gently.
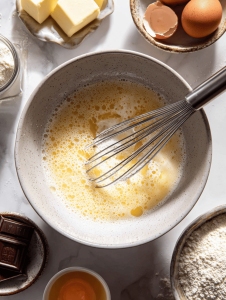
- Whisk: Getting those eggs and sugar to fluffy.
- Muffin tin and paper liners: Shape and contain the cupcakes.
- Wire rack: Cooling evenly and preventing sogginess.
Step-by-step guide to mastering black velvet cupcakes
Step 1: Preheat your oven to 180°C (350°F). Line a muffin tin with paper liners.
Step 2: In a saucepan, gently melt 200g of dark chocolate with 100g of butter over low heat until smooth.
Step 3: In a bowl, whisk together 2 eggs, 150g sugar, and a teaspoon of vanilla until light and creamy.
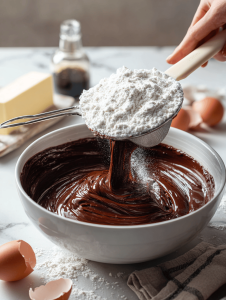
Step 4: Mix in the melted chocolate and butter, then sift in 100g of all-purpose flour and a pinch of salt.
Step 5: Divide batter evenly into the liners, filling about 3/4 full.
Step 6: Bake for 20-22 minutes, until the tops are just set but still slightly jiggle.
Step 7: Remove from oven, let cool in the tin for 10 minutes, then transfer to a wire rack.
Step 8: Once cooled, frost with a dark chocolate ganache or your favorite frosting.
Step 9: Chill the cupcakes for at least 30 minutes before serving to let the flavors meld.
Cooking checkpoints and tips for perfect cupcakes
- The batter should be smooth and glossy, not grainy or lumpy.
- The cupcakes should be just set on top, with a slight jiggle in the center when done.
- The edges should be slightly cracked and have a matte finish, not shiny or wet.
- Use a toothpick inserted in the center—if it comes out clean, they’re ready.
Common pitfalls and how to fix them
- Batter is too thin and won’t hold shape.? Add a pinch more flour if the batter is too runny.
- Cupcakes are underbaked and gooey inside.? Bake for a minute longer if the tops aren’t set.
- Over-torched edges ruining the appearance.? Reduce oven temperature slightly if the edges burn.
- Holes or tunnels in the crumb.? Gently tap the tin to release air bubbles before baking.
Black Velvet Cupcakes
Ingredients
Equipment
Method
- Preheat your oven to 180°C (350°F) and line a muffin tin with paper liners, setting it aside.
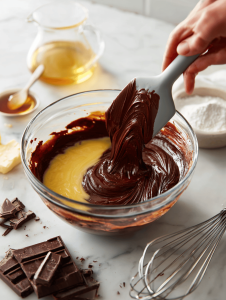
- Gently melt the dark chocolate with the butter in a saucepan over low heat, stirring until smooth and glossy, filling the kitchen with a rich chocolate aroma.
- In a large bowl, whisk together the eggs, sugar, and vanilla until the mixture becomes light, fluffy, and slightly pale, about 3-4 minutes.
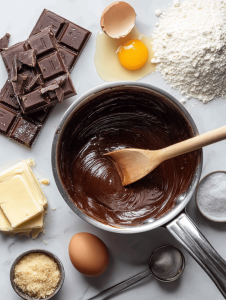
- Pour the melted chocolate and butter into the egg mixture, stirring gently until well combined and smooth.
- Sift the flour and salt into the wet mixture, then fold gently with a spatula until just incorporated, ensuring a shiny, smooth batter without overmixing.
- Divide the batter evenly among the lined muffin cups, filling each about three-quarters full, and tap the tin lightly on the counter to release any air bubbles.
- Bake the cupcakes in the preheated oven for 20-22 minutes, until the tops are just set and a toothpick inserted in the center comes out with moist crumbs.
- Remove the cupcakes from the oven, let them cool in the tin for about 10 minutes, then transfer to a wire rack to cool completely.
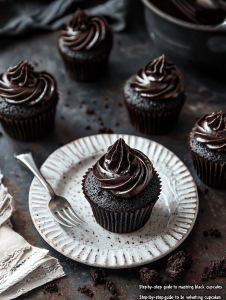
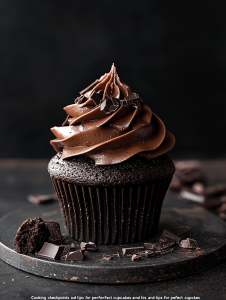
- Once cooled, frost the cupcakes with dark chocolate ganache or your favorite frosting for an extra decadent touch.
- Chill the cupcakes in the refrigerator for at least 30 minutes to allow the flavors to meld and the frosting to set before serving.

Hi, I’m Lucas Foster, the cook, writer, and everyday food enthusiast behind Totally in the Zone. This space is where my love for cooking meets my belief that food should fit into real life. Not rushed. Not overcomplicated. Just thoughtful, satisfying, and made with intention.