In the swirl of busy mornings, I find myself reaching for my trusty blender and a handful of ingredients that remind me of childhood. But lately, I’ve been experimenting—adding unexpected twists to that classic peanut butter smoothie. It’s not just about taste; it’s about texture, balance, and making something that […]
Beverages
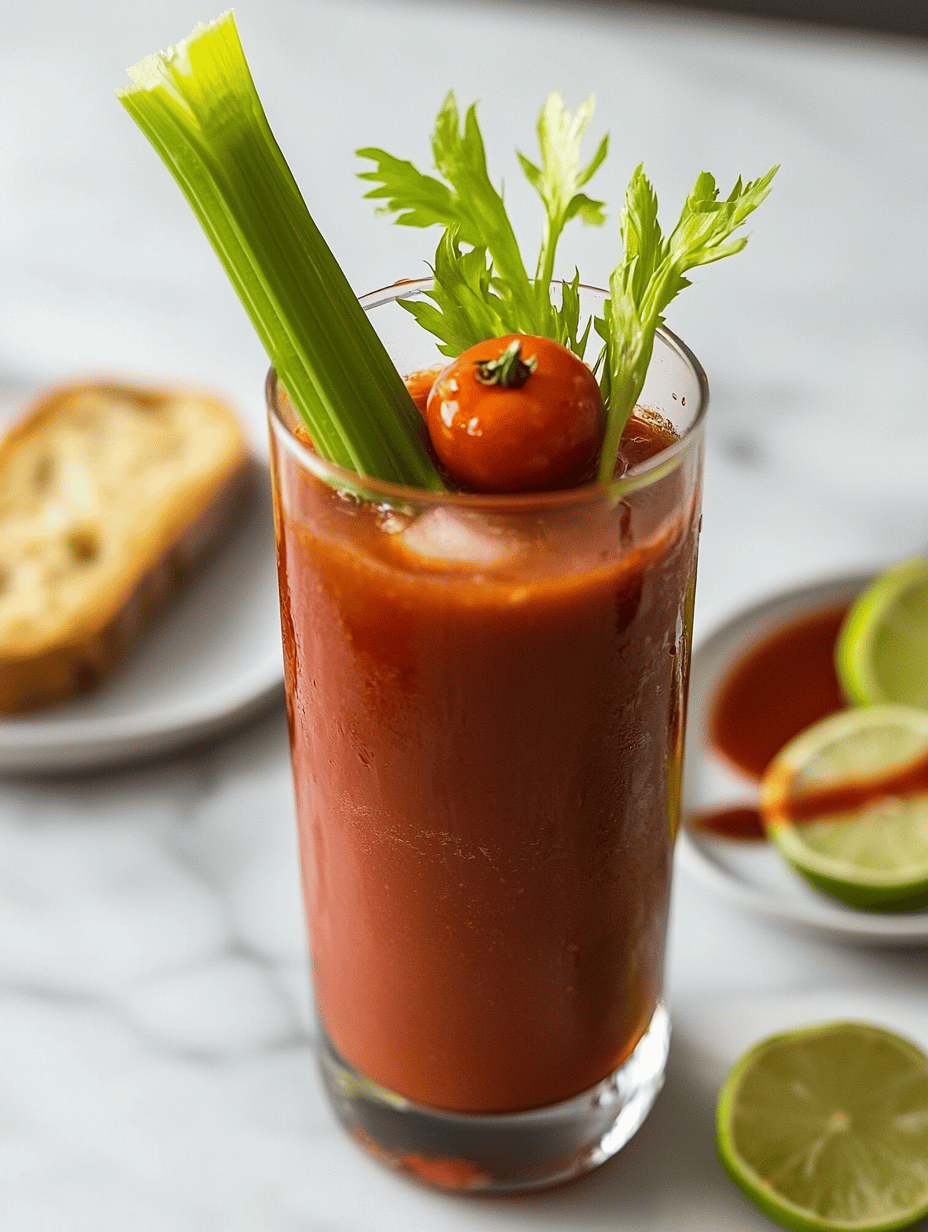
Blood and Booze: The Spooky Charm of Halloween Bloody Marys
Imagine a Halloween party where the drinks are as captivating as the costumes. The Bloody Mary, with its ominous red hue, becomes a perfect canvas for a spooky twist. This recipe transforms the classic into a haunting masterpiece that stirs up both laughter and curiosity among guests. Using unexpected garnishes […]

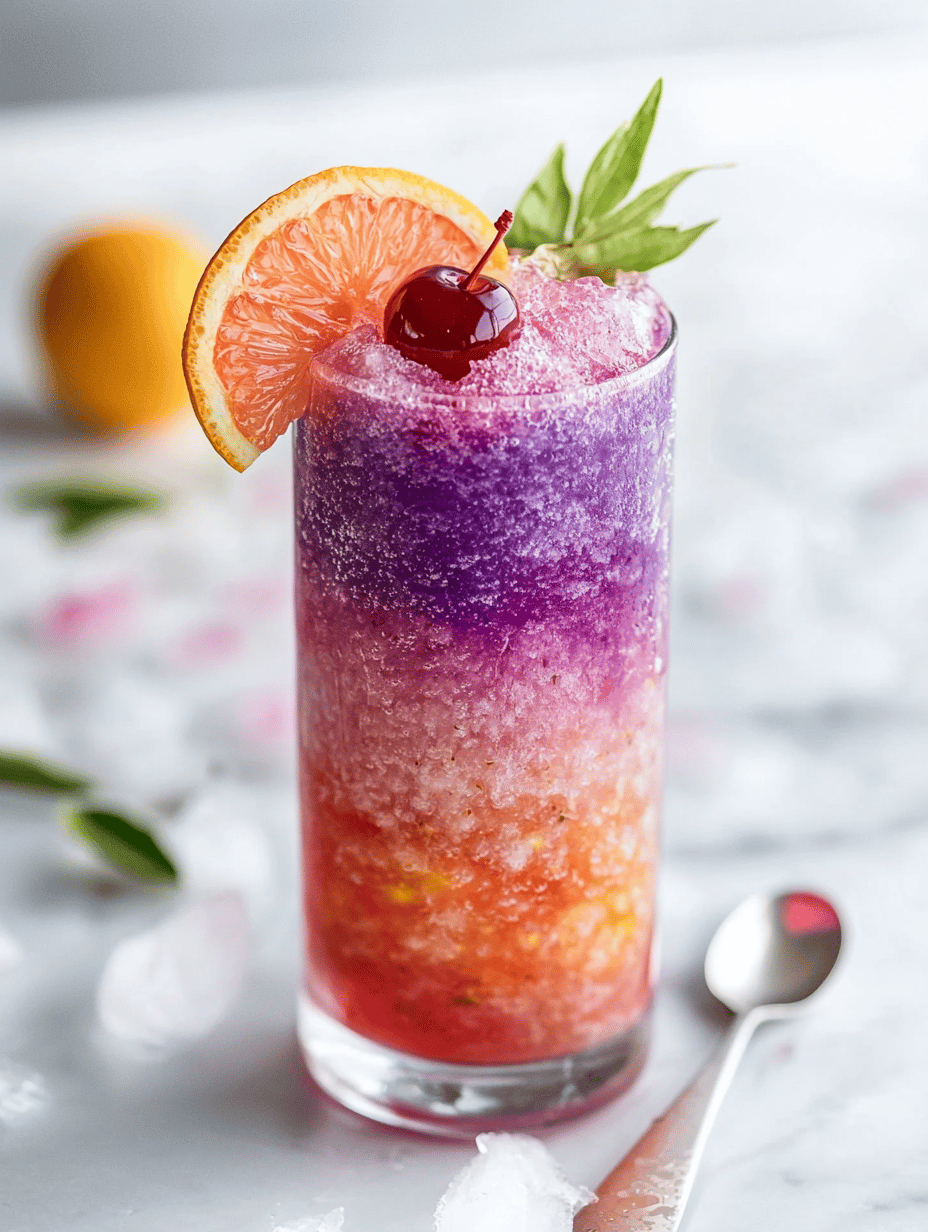
Chill Out with an Unusual Chocolate Slushie Twist
When the summer heat hits, I find myself craving a frozen treat that surprises even my sweet tooth. Instead of reaching for the usual popsicles or ice cream, I recently experimented with a chocolate slushie that transforms ordinary cocoa into a refreshingly chaotic delight. The key? Adding a splash of […]
The Secret Nostalgic Chill of Kool Aid Slushies
Imagine a sweltering summer day when the air feels thick and sticky. You scoop into a glass of vibrant, icy Kool Aid slushie, the sugary aroma instantly bringing back childhood afternoons of chaos and laughter. This recipe isn’t just a frozen drink; it’s a time machine that whisks you back […]