Making no-bake peanut butter bars isn’t just about quick sweets; it’s about capturing that perfect, gooey peanut butter hit without turning on the oven. I love how these bars come together in a snap, yet feel rich and indulgent, like a little secret in your snack stash. There’s a kind […]
Desserts
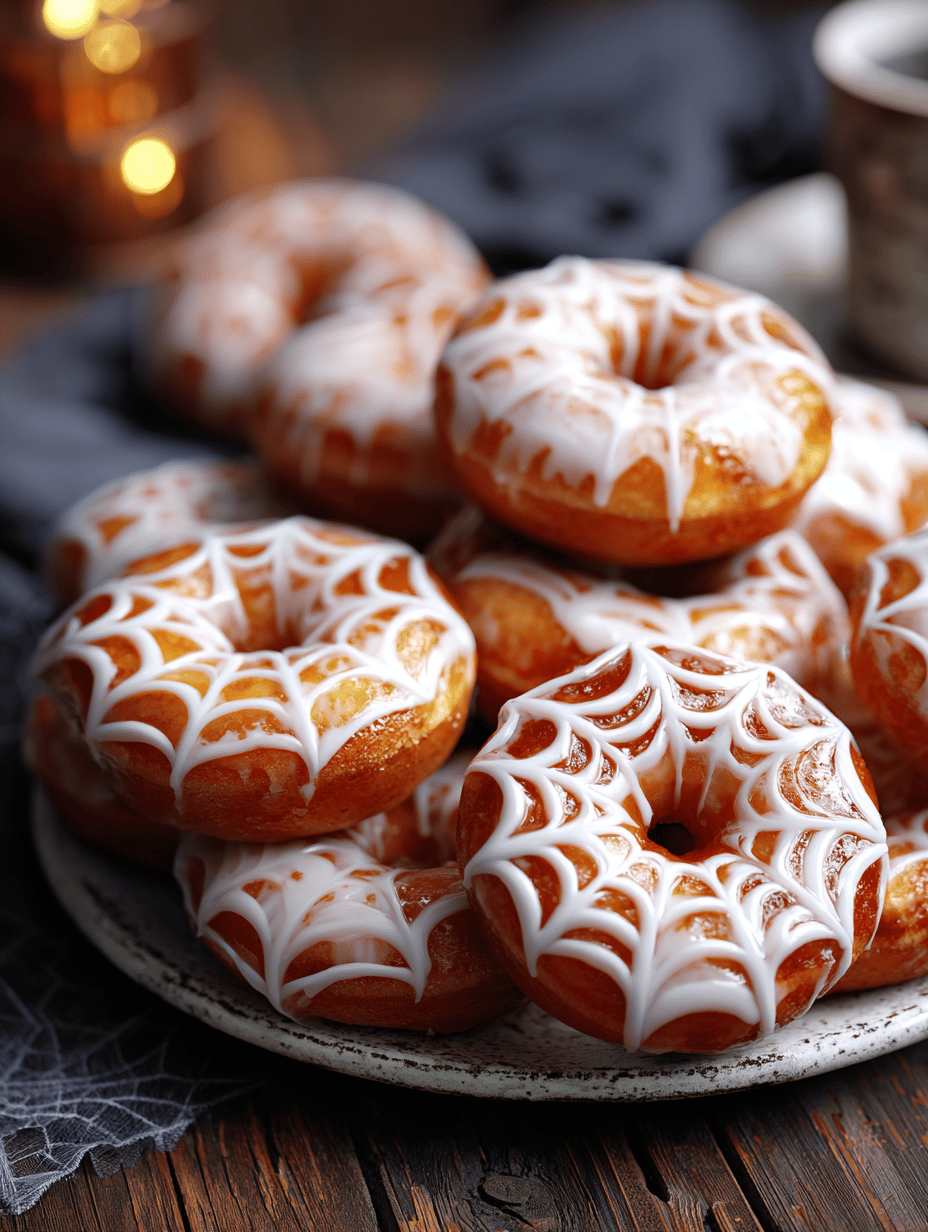
Spiderweb Donuts: An Unexpected Delight for the Curious Baker
Spiderweb donuts aren’t your everyday treat. They’re a playful, slightly chaotic twist on classic fried dough, inspired by those late-night craving moments. The web pattern adds a quirky visual that makes even the simplest donut a conversation piece. Why these donuts keep calling me back The playful web pattern and […]

Ghost Meringues: A Whisper of Sweet Nostalgia with a Touch of Mystery
There’s a quiet thrill in making meringues that hover between crisp and delicate, almost like they might vanish. Ghost meringues, with their whisper-thin shells and ethereal shapes, feel like a secret kept in the kitchen. They’re not just a treat; they’re a mini ritual of patience and a dash of […]
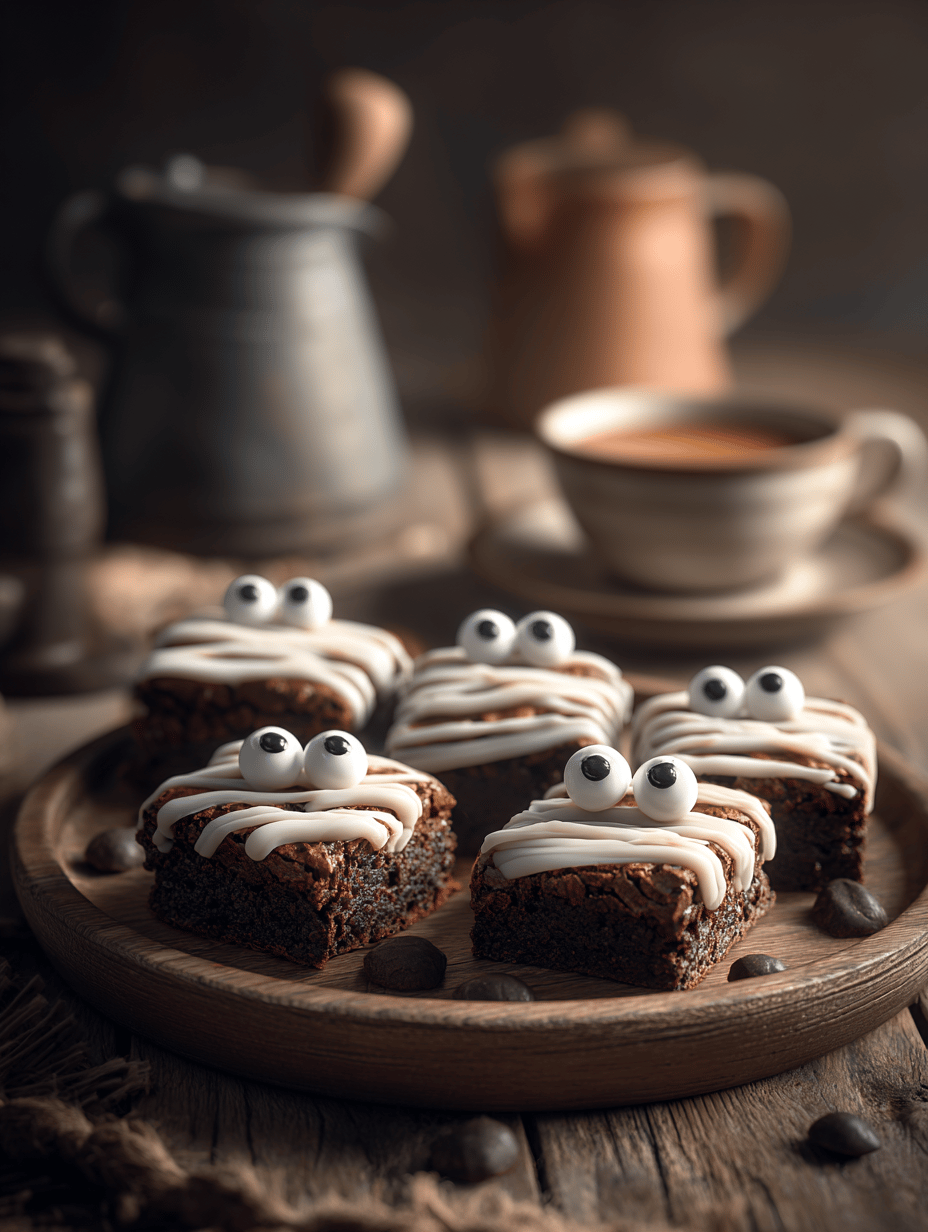
Mummy Brownies: A Nostalgic Twist on Classic Comforts
Mummy brownies are a little more than just a chocolate fix. They’re a nostalgic nod to childhood afternoons spent baking with my grandma, who always added a splash of coffee to her batter. That tweak gave her brownies a smoky, deep richness that I still chase in every batch. Why […]