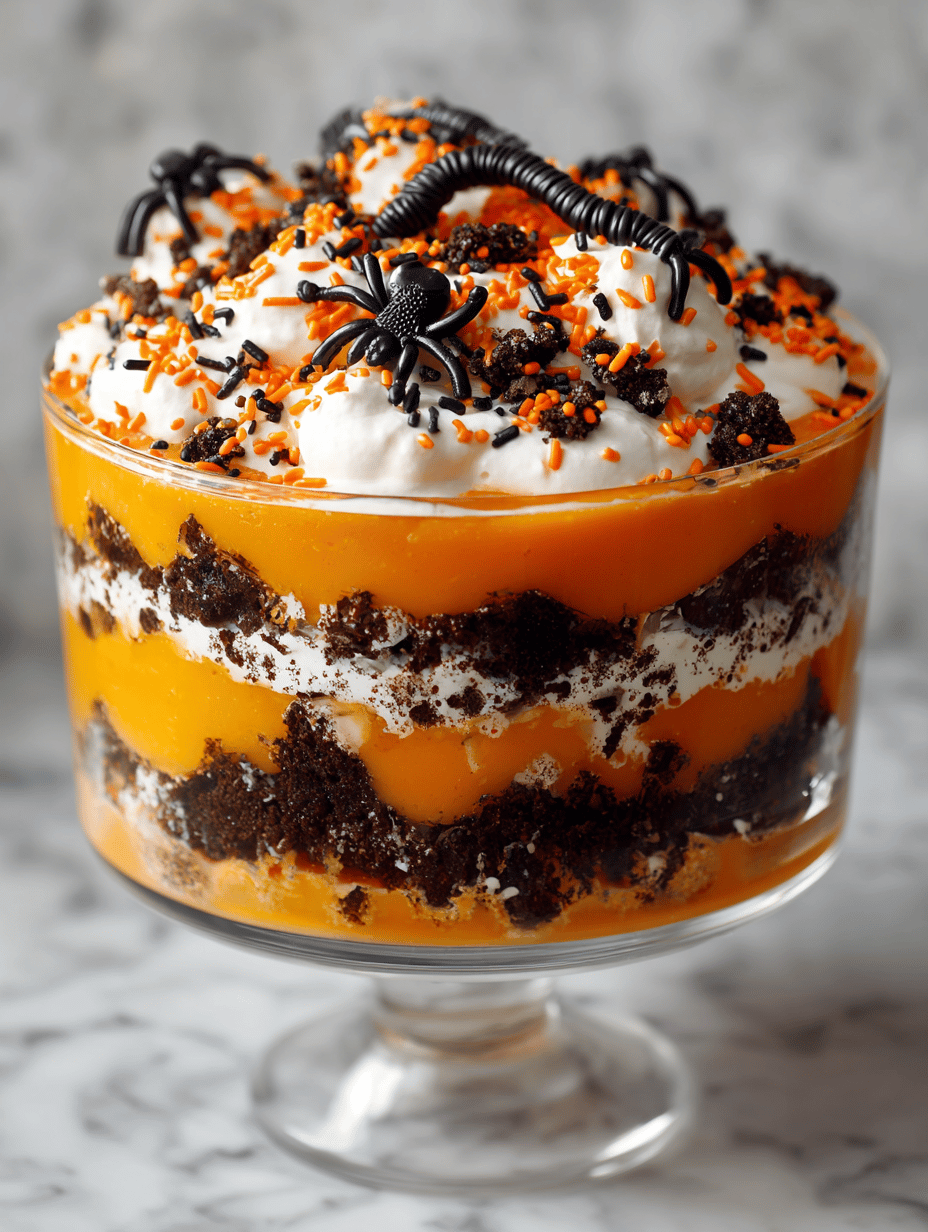
This Halloween trifle is my take on a childhood favorite turned spooky spectacle. It’s a messy, colorful, delightfully chaotic way to celebrate the season without fussing over perfect plating. I love how the layers peek through the glass, revealing a mischievous mix of textures and flavors.
Making this isn’t about precision; it’s about having fun and embracing the little imperfections. It’s perfect for last-minute gatherings or when you want a dessert that’s as playful as it is tasty. Plus, the smell of chocolate, vanilla, and candy fills the kitchen like a haunted house in full swing.
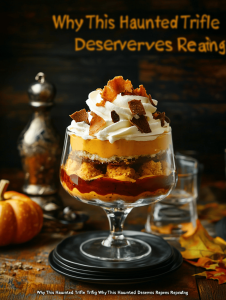
Why This Haunted Trifle Deserves Repeating
It’s imperfectly perfect, messy in all the right ways, and endlessly customizable. Every time I make it, I remember childhood Halloween nights, the chaos of costumes, and the thrill of sweet surprises. The smell of chocolate and vanilla, the crunch of cookies, and the playful glee of decorating keep drawing me back. Plus, it’s the kind of dessert that invites creativity and laughs—what’s not to love?
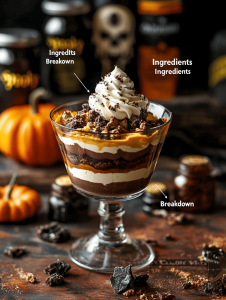
Spooky Ingredients Breakdown
- Chocolate cookies: Crushed into fine crumbs for that crunchy, dark base—substitute with graham crackers if needed.
- Chocolate pudding: Rich, velvety, and deeply chocolatey. Use instant for quickness or homemade for depth.
- Heavy cream: Whipped to cloud-like fluff; adds lightness. Dairy-free alternatives work if you prefer.
- Candy eyes and gummy worms: Fun, creepy decorations that add color and texture—use marzipan for a different twist.
- Halloween sprinkles: Sparkly and colorful, they make every layer pop—skip if you’re feeling minimalist.
- Vanilla extract: Boosts flavor in pudding and cream; a splash adds brightness—omit if allergic.
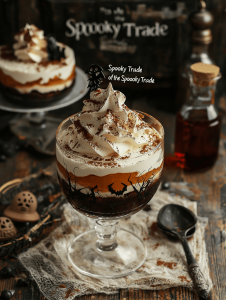
Tools of the Spooky Trade
- Large glass trifle bowl: Show off those colorful layers and keep everything visible.
- Mixing bowls: Prepare pudding, whipped cream, and crushed cookies easily.
- Electric mixer: Whip cream to fluffy perfection—resist overbeating.
- Spatula: Layer ingredients smoothly and cleanly.
- Decorating tools (small spatula, tweezers): Place candies and spooky decorations precisely.
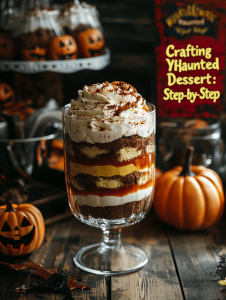
Crafting Your Haunted Dessert: Step-by-Step
Step 1: Gather your ingredients and set out your clear glass trifle bowl or a large, transparent dessert dish.
Step 2: Prepare the spooky layers: crush cookies, make pudding, and whip cream, all while thinking about how the layers will peek through.
Step 3: Layer the ingredients starting with cookies, then pudding, then whipped cream. Repeat until the dish is full, ending with whipped cream.
Step 4: Decorate with candy eyes, gummy worms, or spooky sprinkles for that haunted look.
Step 5: Chill in the fridge for at least 2 hours before serving to let the flavors mingle and the layers set.
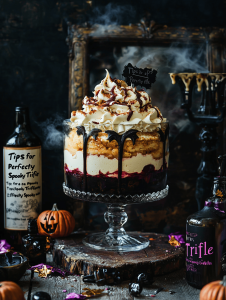
Tips for a Perfectly Spooky Trifle
- Cookies should be crushed finely but still have some texture for crunch.
- Pudding must be smooth and set, not runny or grainy.
- Whipped cream peaks should be fluffy and hold their shape.
- Layer colors should be distinct and visible through the glass for that dramatic effect.
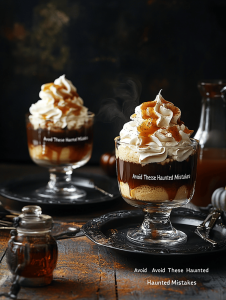
Avoid These Haunted Mistakes
- Layers blending together into a muddy mess.? Use a gentle hand when layering to prevent mixing colors.
- Pudding too runny, causing layers to collapse.? Chill the pudding until just set, not frozen.
- Cream turns grainy or buttery-looking.? Whip cream until stiff peaks form, not overwhipped into butter.
- Decorations wilting or melting.? Decorate just before serving to keep toppings crisp.
Spooky Halloween Trifle
Ingredients
Equipment
Method
- Crush the chocolate cookies into fine crumbs and set aside.
- Prepare the chocolate pudding if using instant, whisking until smooth and glossy. Chill until ready to layer.
- Whip the chilled heavy cream with vanilla extract using an electric mixer until stiff peaks form, creating a light and fluffy texture.
- Begin layering in the glass trifle bowl: add a layer of crushed cookies at the bottom, spreading evenly with a spatula.
- Spoon a generous layer of chocolate pudding over the cookies, smoothing it out gently.
- Add a layer of whipped cream on top of the pudding, creating a soft, cloud-like appearance.
- Repeat the layers—cookies, pudding, whipped cream—until the dish is nearly full, finishing with a thick layer of whipped cream on top.
- Decorate the top with candy eyes, gummy worms, and colorful sprinkles to create a spooky, chaotic look.
- Cover the trifle and chill in the refrigerator for at least 2 hours, allowing flavors to meld and layers to set.
- Once chilled, serve the trifle directly from the glass dish, encouraging guests to dig in and enjoy the colorful chaos.
Notes

Hi, I’m Lucas Foster, the cook, writer, and everyday food enthusiast behind Totally in the Zone. This space is where my love for cooking meets my belief that food should fit into real life. Not rushed. Not overcomplicated. Just thoughtful, satisfying, and made with intention.