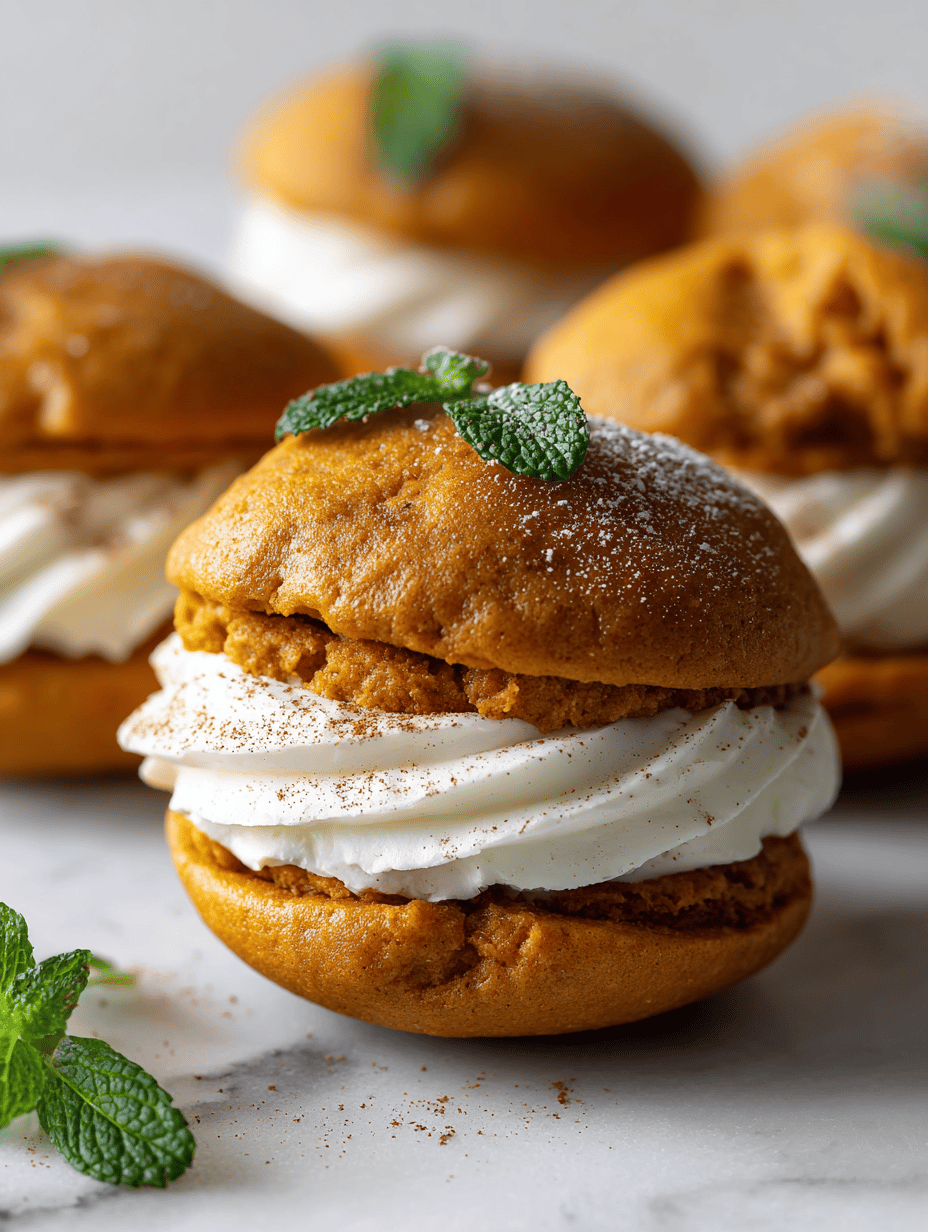
Pumpkin whoopie pies are a sweet nod to fall’s bounty, with their moist, tender crumb and a tangy, creamy filling. I love how they feel like a cozy blanket—warm spices, pumpkin’s earthy sweetness, and that satisfying bite. They’re not just treats; they’re a little ritual for chilly days and big gatherings.
Why these pumpkin whoopie pies keep calling me back
They’re a nostalgic reminder of childhood harvest festivals, yet refined enough for grown-up tastes. The contrast of soft cake and creamy filling never gets old. Plus, they’re endlessly adaptable—swap in maple syrup or add toasted pecans. Each batch feels like a little celebration, a warm moment in the busy season.
Breaking down the ingredients of pumpkin whoopie pies
- Pumpkin: Rich in moisture and flavor, it keeps the cookies tender and adds natural sweetness.
- Brown sugar: Deep, molasses-like flavor that enhances spices and keeps the texture moist.
- Cinnamon: Warm and fragrant—don’t skimp, it really anchors the seasonal vibe.
- Cream cheese: Tangy and smooth, balancing the sweetness and adding richness to the filling.
- Butter: Adds richness and helps the cookies spread evenly; use unsalted for control.
- Spices (nutmeg, ginger): A pinch of these boosts autumnal aroma, but go easy—less is more.
- Vanilla extract: Brightens everything—don’t skip this for that extra layer of depth.
Tools of the trade for perfect pumpkin whoopie pies
- Large mixing bowl: For combining wet ingredients.
- Whisk or electric mixer: To blend filling ingredients until fluffy.
- Baking sheet with parchment paper: Prevents sticking and makes cleanup easier.
- Cookie scoop or spoon: Ensures evenly sized cookies.
- Wire cooling rack: Helps cookies cool evenly without sogginess.
Step-by-step guide to crafting pumpkin whoopie pies
Step 1: Preheat your oven to 180°C (350°F). Line baking sheets with parchment paper.
Step 2: In a large bowl, whisk together 1 ¾ cups of flour, 1 teaspoon baking soda, 1 teaspoon cinnamon, and a pinch of salt.
Step 3: In another bowl, mash 1 cup cooked pumpkin until smooth. Mix in ½ cup brown sugar, ¼ cup melted butter, and 1 teaspoon vanilla.
Step 4: Combine wet and dry ingredients until just blended. Do not overmix, or the cookies will be tough.
Step 5: Using a spoon or cookie scoop, dollop the batter onto the prepared baking sheets, leaving space for spreading.
Step 6: Bake for 12-15 minutes, until the edges are golden and the centers are set. Cool on a wire rack.
Step 7: For the filling, beat ½ cup softened cream cheese, ¼ cup softened butter, 1 cup powdered sugar, and a splash of vanilla until fluffy.
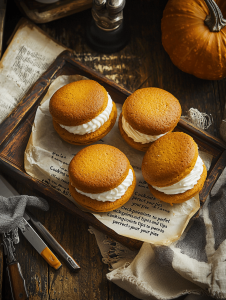
Step 8: Once cookies are cool, spread a generous dollop of filling on the bottom of one cookie, then top with another to make a sandwich.
Cooking checkpoints and tips to perfect your pies
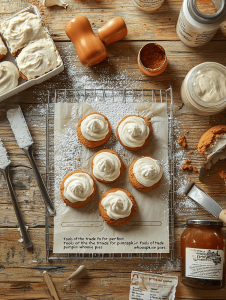
- Cookies should be golden around the edges, soft but not underdone.
- Filling should be smooth, not runny—adjust with more powdered sugar if needed.
- Allow cookies to cool completely before filling to prevent melting.
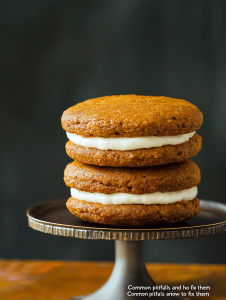
Common pitfalls and how to fix them
- Underbaked cookies.? Add a minute or two to baking time if cookies are pale and soft.
- Filling is too loose.? Chill filling slightly if too runny.
- Filling melts and falls out.? Ensure cookies are fully cooled before filling.
- Uneven filling.? Use a sharp knife to level the top of the filling for neatness.
Pumpkin Whoopie Pies
Ingredients
Equipment
Method
- Preheat your oven to 180°C (350°F) and line baking sheets with parchment paper.
- In a large bowl, whisk together flour, baking soda, cinnamon, and a pinch of salt until combined. Set aside.
- In another bowl, mash the cooked pumpkin until smooth, then stir in brown sugar, melted butter, and vanilla extract until the mixture is well blended and fragrant.
- Pour the wet pumpkin mixture into the dry ingredients, and gently fold until just combined. The batter will be thick but moist.
- Using a cookie scoop or spoon, dollop spoonfuls of batter onto the prepared baking sheets, spacing them about 2 inches apart to allow for spreading.
- Bake for 12-15 minutes, until the edges are golden and the centers are set. The cookies will be soft but firm enough to handle. Remove from oven and cool on a wire rack.
- In a mixing bowl, beat the softened cream cheese, butter, powdered sugar, and vanilla until fluffy and smooth. This creates the tangy filling.
- Once the cookies are completely cooled, spread a generous dollop of cream cheese filling on the flat side of one cookie.
- Top with a second cookie, pressing gently to create a sandwich. Repeat with the remaining cookies and filling.
- Arrange the assembled pumpkin whoopie pies on a platter and serve once the filling is set. Enjoy the cozy, spiced treat!
Notes

Hi, I’m Lucas Foster, the cook, writer, and everyday food enthusiast behind Totally in the Zone. This space is where my love for cooking meets my belief that food should fit into real life. Not rushed. Not overcomplicated. Just thoughtful, satisfying, and made with intention.