Baking spooky cupcakes is a delightful way to embrace the playful side of baking. It’s about turning simple ingredients into something both creepy and cute, perfect for celebrating the season or just adding a little whimsy to your day. Plus, the mess and chaos are part of the charm—no perfect lines needed here.
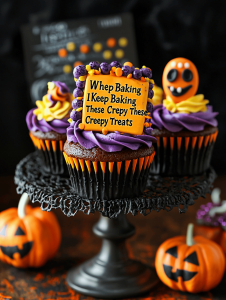
Why I Keep Baking These Creepy Treats
They remind me of childhood Halloweens filled with candy and giggles. The process is chaos—messy, loud, a little frantic—but the smiles when you see those spooky faces come to life are worth every second. Plus, every batch feels like a small rebellion against the perfect, polished treats. It’s honest, imperfect fun that I keep returning to.
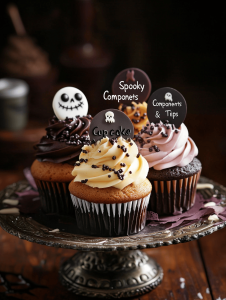
Spooky Cupcake Components & Tips
- All-purpose flour: Gives structure; substitute with gluten-free blend if needed.
- Cocoa powder: Adds rich chocolate flavor; use Dutch-processed for a smoother taste.
- Butter: Creates moistness and richness; swap with margarine if dairy-free.
- Sugar: Sweetens and tenderizes; brown sugar adds depth.
- Eggs: Bind ingredients; flaxseed meal can replace for vegan baking.
- Milk: Keeps batter moist; almond or oat milk works well.
- Vanilla extract: Enhances flavor; vanilla bean paste adds a gourmet touch.
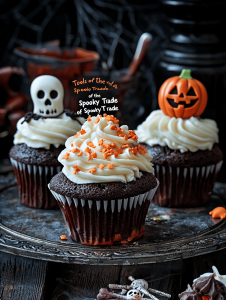
Tools of the Spooky Trade
- Muffin tin: Holds the cupcake batter and ensures even baking.
- Mixing bowls: Separate dry and wet ingredients, and mix efficiently.
- Electric hand mixer: Eases the creaming process for fluffy batter.
- Cooling rack: Helps cupcakes cool evenly and prevents sogginess.
- Spatula: Folds ingredients gently and decorates.
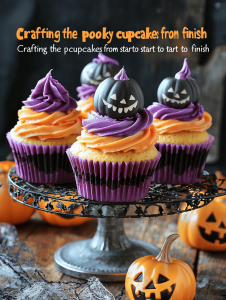
Crafting the perfect spooky cupcakes from start to finish
Step 1: Preheat your oven to 180°C (350°F).
Step 2: Line a muffin tin with paper cupcake liners.
Step 3: In a bowl, mix flour, cocoa powder, baking powder, and a pinch of salt.
Step 4: In another bowl, beat butter and sugar until light and fluffy, about 3 minutes.
Step 5: Add eggs one at a time, then vanilla. Mix well.
Step 6: Alternate adding dry ingredients and milk, starting and ending with dry.
Step 7: Scoop batter into liners, filling about 2/3 full.
Step 8: Bake for 18-20 minutes, until a toothpick comes out clean.
Step 9: Let cupcakes cool in the tin for 5 minutes, then transfer to a wire rack.
Step 10: Once cooled, frost with your favorite spooky-themed icing.
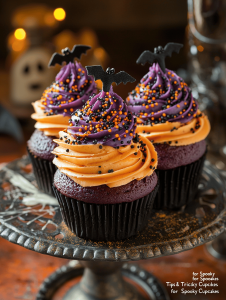
Tips & Tricks for Spooky Cupcakes
- Ensure butter is softened for a smoother batter.
- Don’t overmix once dry ingredients are added to keep cupcakes light.
- Check for doneness with a toothpick—no wet batter should cling.
- Cool cupcakes completely before frosting to prevent melting.
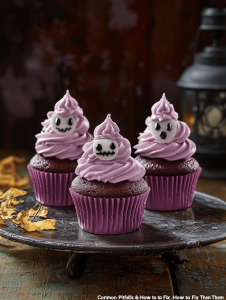
Common Pitfalls & How to Fix Them
- Cold butter makes for dense batter.? Use softened butter, not melted, to avoid flat cupcakes.
- Tough cupcakes from overmixing.? Don’t overmix once dry ingredients are added.
- Undercooked centers.? Test with a toothpick—if it comes out wet, bake a few minutes longer.
- Frosting sliding off warm cupcakes.? Cool cupcakes thoroughly before frosting.
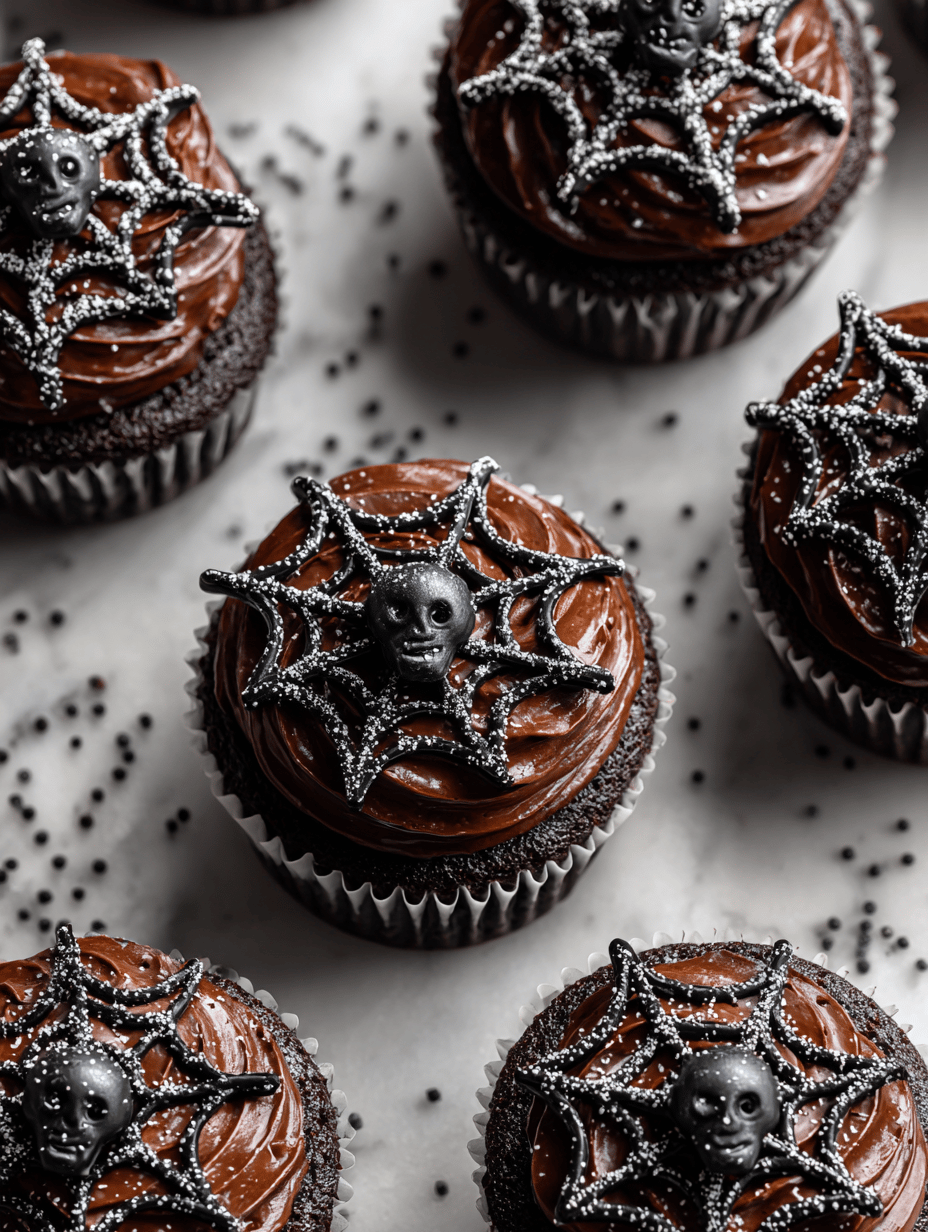
Spooky Chocolate Cupcakes
Ingredients
Equipment
Method
- Preheat your oven to 180°C (350°F) and line a muffin tin with paper cupcake liners.
- In a large mixing bowl, whisk together the flour, cocoa powder, baking powder, and salt until evenly combined. The mixture should look uniform and slightly powdery.
- In a separate bowl, beat the softened butter and sugar together using an electric mixer on medium speed until the mixture is light, fluffy, and pale in color—about 3 minutes. You'll hear a gentle whir and see the mixture turn creamy.
- Add eggs one at a time to the butter mixture, beating well after each addition. The batter will become smooth and slightly glossy.
- Stir in the vanilla extract, mixing until evenly incorporated.
- Gradually add the dry ingredients to the wet mixture, alternating with the milk. Start and end with the dry ingredients, folding gently with a spatula after each addition. The batter should be thick but pourable, with a rich chocolate color.
- Scoop the batter into the prepared cupcake liners, filling each about two-thirds full. You should see the batter mound slightly above the liner edges.
- Bake the cupcakes in the preheated oven for 18-20 minutes, or until a toothpick inserted into the center comes out clean. You'll smell the rich chocolate aroma filling your kitchen.
- Remove the cupcakes from the oven and let them cool in the tin for about 5 minutes, allowing the structure to set. Then, transfer them to a wire rack to cool completely, ensuring they don't get soggy.
- Once cooled, decorate your cupcakes with spooky themed frosting, like dark chocolate or vibrant colored icing, and add fun embellishments to bring your creepy treats to life.
- Enjoy your playful, spooky cupcakes—they're perfect for Halloween parties or just a fun baking adventure with friends!

Hi, I’m Lucas Foster, the cook, writer, and everyday food enthusiast behind Totally in the Zone. This space is where my love for cooking meets my belief that food should fit into real life. Not rushed. Not overcomplicated. Just thoughtful, satisfying, and made with intention.