Red velvet has a secret: its allure isn’t just in the flavor but in the story it tells. Every bite feels like a small rebellion—rich, velvety, and a little bit mysterious. It’s perfect for when you want to mark an occasion with something a little more daring than usual.
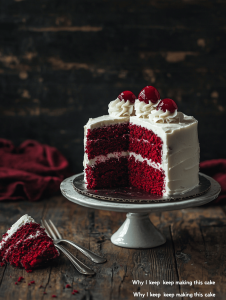
Why I keep making this cake
Its deep red color and velvety crumb never fail to surprise me. It’s perfect for marking a moment—whether a quiet celebration or a bold statement. Plus, every time I bake it, I remember that childhood thrill of turning a simple batter into something stunning.
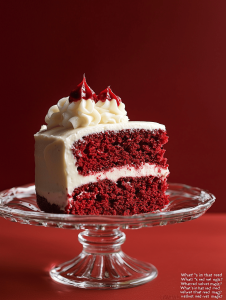
What’s in that red velvet magic?
- All-purpose flour: Gives structure; don’t skimp, even if you’re tempted to use cake flour.
- Cocoa powder: Adds depth, a hint of smoky richness—don’t omit for that authentic flavor.
- Red food coloring: Creates the signature crimson hue; use gel for less dilution and more vibrancy.
- Buttermilk: Tenderizes and adds a slight tang; swap with full-fat sour cream if needed.
- Cream cheese frosting: Rich, tangy, and balances the sweetness—essential for that classic look.
- Vegetable oil: Keeps the crumb moist; can substitute with melted butter for a richer flavor.
- Eggs: Bind the batter; fresher eggs yield a better rise.
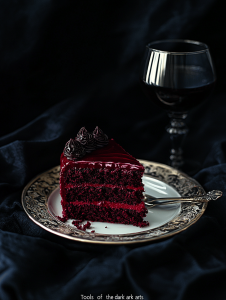
Tools of the dark arts
- Mixing bowls: To blend ingredients smoothly and evenly.
- Electric mixer: To beat the batter and frosting to the perfect fluffy consistency.
- Cake pan (23cm round): To shape the cake evenly.
- Parchment paper: To prevent sticking and ensure easy removal.
- Cooling rack: To cool the cake evenly without sogginess.
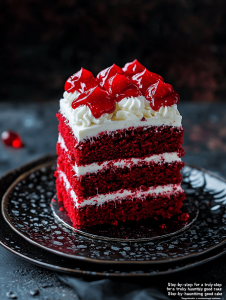
Step-by-step for a truly hauntingly good cake
Step 1: Preheat your oven to 175°C (350°F). Grab a 23cm (9-inch) round cake pan and line it with parchment paper.
Step 2: In a large bowl, sift together 2 1/2 cups (310g) of all-purpose flour, 1 teaspoon baking soda, and 1 teaspoon cocoa powder. Mix well.
Step 3: In another bowl, whisk 1 cup (200g) of sugar, 1/2 cup (120ml) of vegetable oil, and 2 large eggs until smooth.
Step 4: Add 1 cup (240ml) buttermilk, 1 tablespoon (15ml) of red food coloring, and 1 teaspoon vanilla extract to the wet ingredients. Mix until evenly colored.
Step 5: Gradually add the dry ingredients into the wet, mixing gently but thoroughly. The batter will be thick and vibrant red.
Step 6: Pour the batter into the prepared pan, smoothing the top. Bake for 25-30 minutes, until a toothpick inserted in the center comes out clean.
Step 7: Let the cake cool in the pan for 10 minutes, then transfer to a wire rack. Cool completely before frosting.
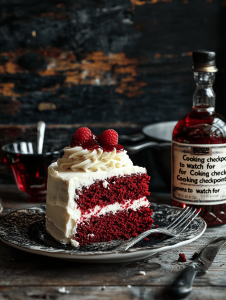
Cooking checkpoints to watch for
- The cake should be a deep, even red without streaks. If it’s pale, add a touch more food coloring.
- The top should be golden and slightly cracked—this indicates it’s baked through.
- A toothpick inserted should come out clean, with no wet batter clinging.
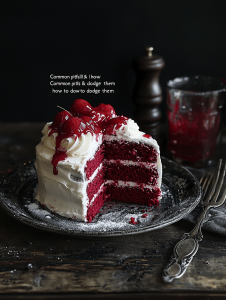
Common pitfalls & how to dodge them
- Overbaking leading to cracks.? If the cake cracks on top, lower the oven temperature by 10°C (20°F).
- Overmixing can develop gluten, making the cake heavy.? If the cake is dense, don’t overmix the batter.
- Frosting melting and sliding off.? If the frosting is runny, chill it for 15 minutes.
- Sticking cake when removing from pan.? If the cake sticks, ensure parchment is well greased and pressed into the pan.
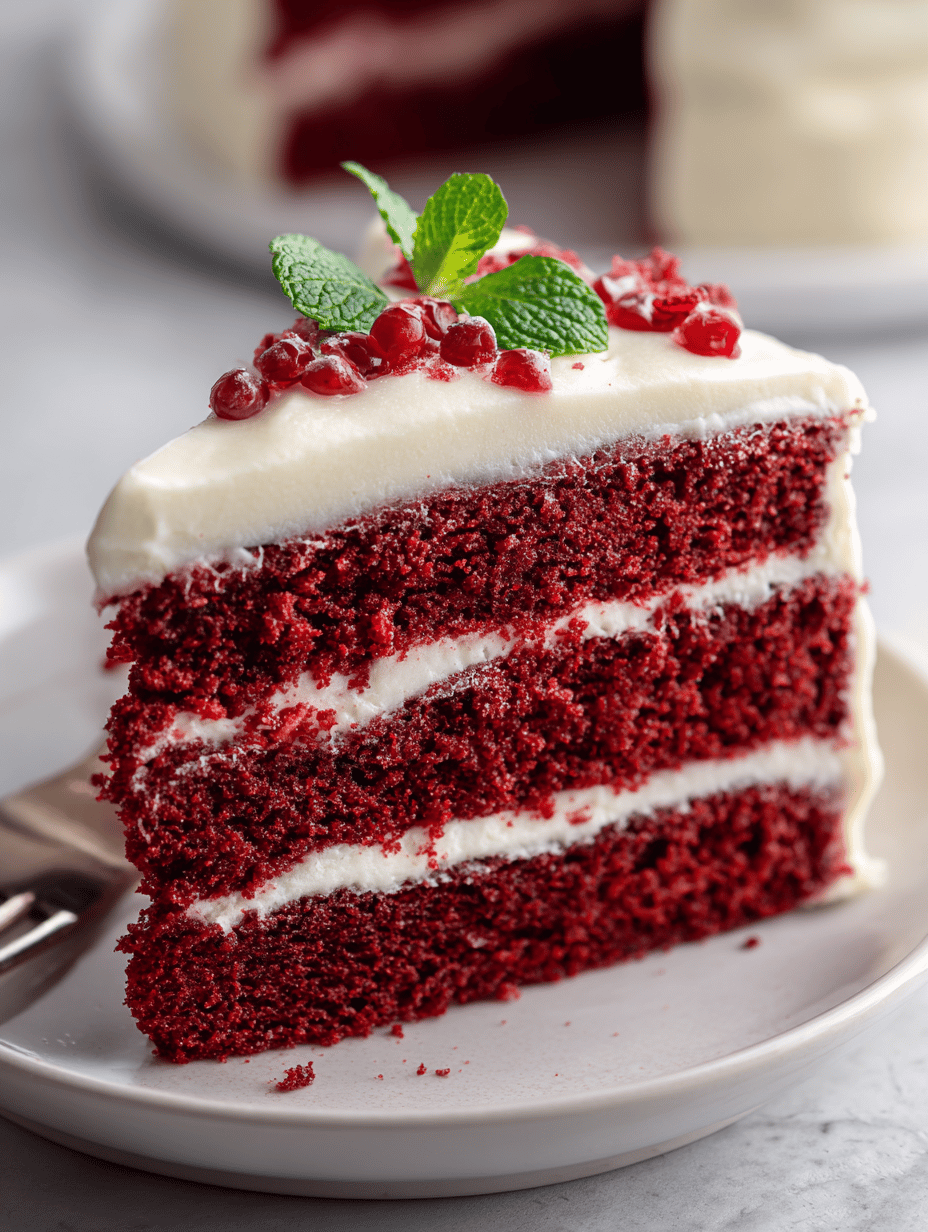
Classic Red Velvet Cake
Ingredients
Equipment
Method
- Preheat your oven to 175°C (350°F) and line a 23cm round cake pan with parchment paper.
- Sift together the flour, baking soda, and cocoa powder in a large bowl until evenly combined. This ensures a smooth batter without lumps.
- In another bowl, whisk together sugar, vegetable oil, and eggs until the mixture is smooth, slightly thickened, and smells slightly sweet.
- Add buttermilk, red food coloring, and vanilla extract to the wet mixture. Mix until the batter turns a vibrant crimson hue and is uniform in color.
- Gradually fold the dry ingredients into the wet mixture using a spatula or mixer on low speed, mixing gently until just combined and the batter is smooth and velvety.
- Pour the batter into the prepared cake pan, smoothing the surface with a spatula to ensure even baking.
- Bake for 25-30 minutes, or until a toothpick inserted into the center comes out clean and the top is golden with slight cracks.
- Remove the cake from the oven and let it cool in the pan for about 10 minutes, then transfer to a wire rack to cool completely, allowing the crumb to set and the color to deepen.
- Once cooled, frost the cake with cream cheese frosting or your favorite frosting to complete the rich, velvety look and taste.
- Slice and serve this stunning red velvet cake to enjoy its moist, tender crumb and striking appearance, perfect for special occasions or a bold treat.

Hi, I’m Lucas Foster, the cook, writer, and everyday food enthusiast behind Totally in the Zone. This space is where my love for cooking meets my belief that food should fit into real life. Not rushed. Not overcomplicated. Just thoughtful, satisfying, and made with intention.