Getting this salmon right means paying attention to the garlic crust — you want it golden and crispy, not burnt. The air fryer simplifies the process, but you still need to watch that salmon doesn’t dry out or stick to the basket.
Prepping involves a quick rub of garlic and oil, then plopping the fillet into the hot air. You’ll hear that sizzle and crackle as the garlic crisps up, and the smell of roasted garlic fills the kitchen as it cooks.
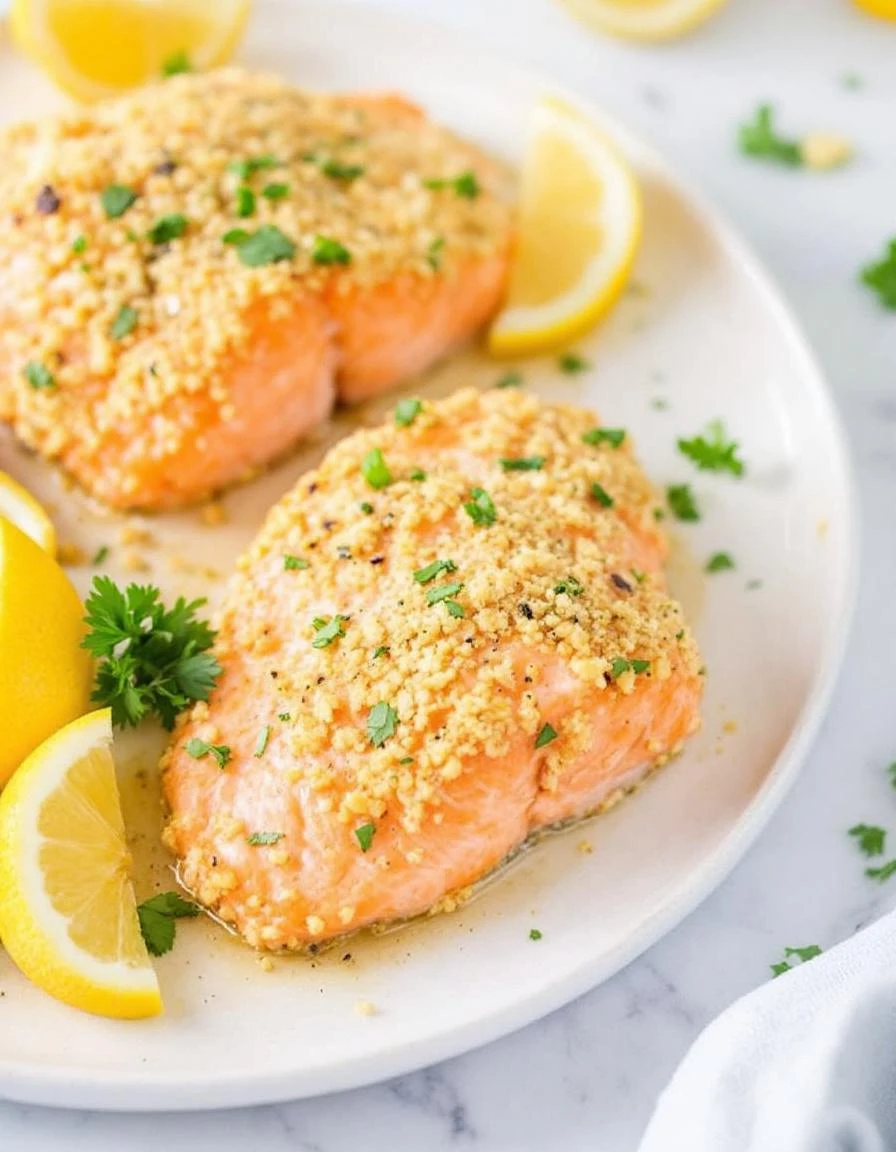
The satisfying crack of the garlic crust as you bite into the tender salmon, a perfect contrast of textures.
What goes into this dish
- Salmon fillet: I prefer skin-on for that crispy edge, but you can skip the skin if you want a cleaner look. The flesh should be firm and shiny, ready to soak up garlic and oil without falling apart.
- Garlic: Fresh minced garlic is key for that pungent, aromatic punch. If you only have garlic powder, use half the amount; it won’t crisp but will still add flavor, just less smoky and bright.
- Olive oil: A drizzle of good olive oil helps the garlic stick and crisp nicely. Skip or substitute with avocado oil if you prefer a milder, buttery note that crisps just as well.
- Lemon juice: Brightens everything with a zesty punch. If fresh lemon isn’t handy, a splash of bottled lemon juice works but loses that fresh, oozy aroma after cooking.
- Salt and pepper: Season generously—salty and peppery, the basics. For a smoky twist, sprinkle some smoked paprika or cayenne, but keep it light if you want the garlic to shine.
- Optional herbs: Fresh parsley or dill adds a herby, fresh finish. If you don’t have fresh, dried herbs can be used sparingly but won’t deliver the same vibrancy.
- Cooking spray or parchment: To prevent sticking, use a light spray or line your basket with parchment. No one wants a garlic-smeared mess to clean up after!
Garlic-Crusted Air Fryer Salmon
Ingredients
Equipment
Method
- Pat the salmon fillets dry with paper towels, then place them on a plate. Mix minced garlic, olive oil, lemon juice, salt, and pepper in a small bowl to create the garlic rub.
- Brush the garlic mixture evenly over the top and sides of each fillet, ensuring a good coating for maximum flavor and crispness.
- Preheat your air fryer to 400°F (200°C) and line the basket with parchment or lightly spray with cooking spray to prevent sticking.
- Place the salmon fillets skin-side down into the air fryer basket, making sure they are not touching for even crisping.
- Set the air fryer to cook at 400°F (200°C) for 8-10 minutes. As it cooks, you'll hear a sizzle and smell roasted garlic filling the kitchen.
- Check the salmon at around 8 minutes; the garlic crust should be golden and crispy, and the fish should flake easily with a fork.
- Remove the salmon carefully from the air fryer, sprinkle with chopped parsley or dill if desired, and serve immediately to enjoy the crispy garlic crust with tender, juicy fish.
Notes
Common mistakes and how to fix them
- FORGOT to preheat the air fryer, resulting in uneven crisping. Always preheat for 3 minutes.
- DUMPED the salmon in without patting dry, causing steam and soggy crust. Pat dry for crunch.
- OVER-TORCHED the garlic, turning bitter. Keep an eye and remove when golden.
- MISSED seasoning, resulting in bland flavor. Always taste and adjust salt before cooking.
Make-Ahead and Storage Tips
- You can prep the garlic rub a day ahead — keep it in the fridge, covered tightly, so the garlic stays pungent and fresh.
- Salmon fillets can be seasoned and stored in the fridge for up to 24 hours before cooking, keeping the flesh firm and ready.
- Freezing the seasoned fillets is fine if you want to make this later; wrap tightly and freeze for up to 2 months, then thaw overnight in the fridge.
- The garlic flavor intensifies slightly overnight, so adjust seasoning if you prep ahead by a day — taste and tweak before cooking.
- Reheating cooked salmon in the air fryer takes about 3 minutes at 350°F— listen for that crisp, crackling garlic and watch for dryness.
FAQs
1. Can I use frozen salmon?
Use fresh salmon with firm, shiny flesh. It crisps up nicely and holds together better during air frying.
2. Should I marinate or just season before air frying?
A light coat of oil helps the garlic stick and crisp. Too much makes the crust greasy, so just a thin drizzle.
3. How long does it take to cook in the air fryer?
Cook at 400°F for about 8-10 minutes. Check for a golden garlic crust and that the fish flakes easily with a fork.
4. How do I prevent the garlic from burning?
The garlic might burn quickly; keep a close eye after 6 minutes. If it turns bitter, remove early.
5. Can I reheat leftovers in the air fryer?
Reheat in the air fryer at 350°F for 3-4 minutes until warm and crispy, listening for that satisfying crackle.

Hi, I’m Lucas Foster, the cook, writer, and everyday food enthusiast behind Totally in the Zone. This space is where my love for cooking meets my belief that food should fit into real life. Not rushed. Not overcomplicated. Just thoughtful, satisfying, and made with intention.