Making a key lime pie means wrestling with a sticky, oozing filling that drips down your arm if you’re not careful. The graham cracker crust crumbles under the fork, sending crumbs flying across the counter.
Every step involves tactile work—zesting limes, squeezing juice, and mixing until the filling is just thick enough to jiggle slightly in the pan. It’s a messy process, but watching the pie set in the fridge makes the chaos worth it.
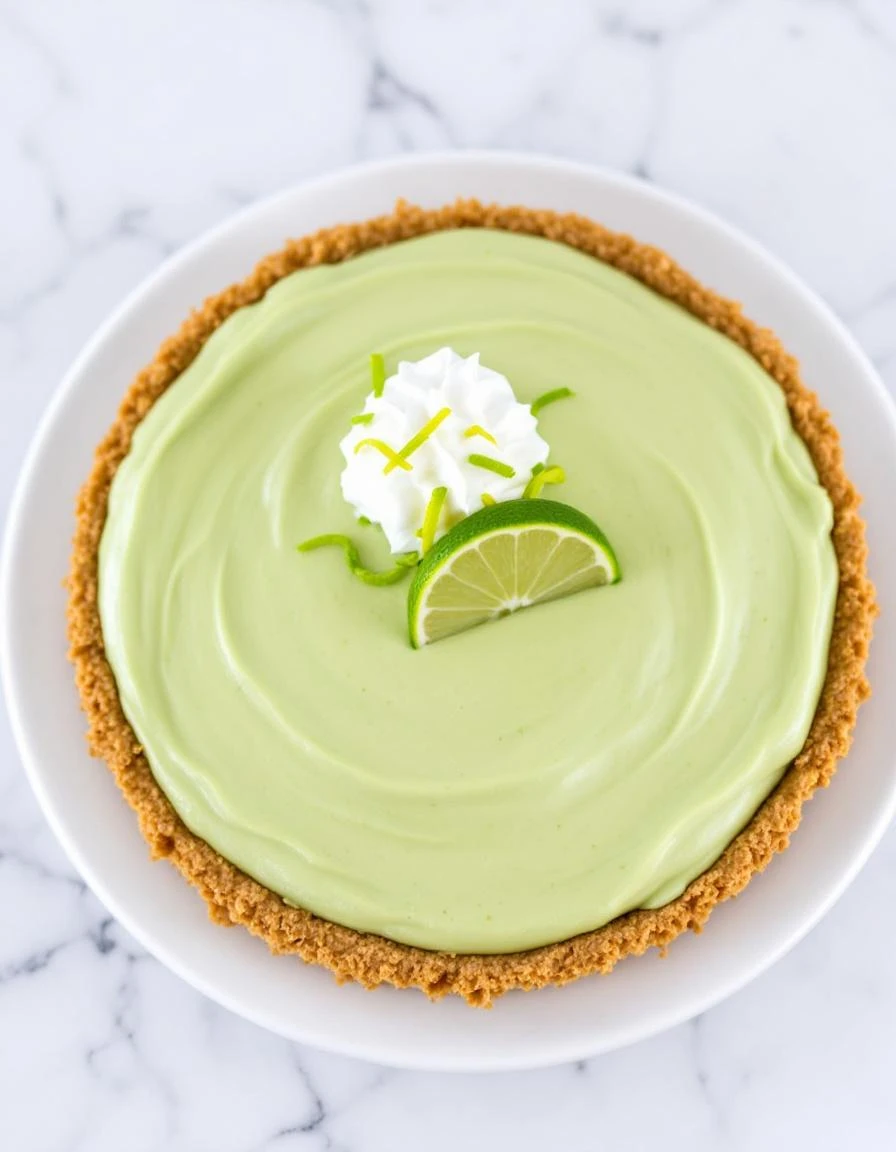
The satisfying crunch of the graham cracker crust as you cut through, followed by the creamy, tangy filling that sticks to your tongue.
What goes into this dish
- Graham cracker crumbs: I scoop these into the food processor, blending until fine; skip if you prefer a denser crust. Their sweet, toasty aroma wakes up the crust’s depth.
- Sweetened condensed milk: I pour this in last, it’s the glue that binds the tangy lime juice. You can swap in coconut milk for a subtler sweetness, but keep it thick.
- Limes: I zest and squeeze them fresh, the bright citrus scent making the kitchen zing. Use bottled lime juice only if fresh isn’t available, but it dulls the vibrancy.
- Egg yolks: I beat these into the filling, giving it richness and body. For a lighter version, try aquafaba, but it won’t set quite the same.
- Butter: I melt this into the crust for extra cohesion and a buttery aroma. Coconut oil works if you’re dairy-free, though it lends a slightly different flavor.
- Sweetener: I prefer superfine sugar, but honey or agave can work in a pinch—just adjust the acidity or sweetness slightly to balance.
- Pie pan: I use a standard 9-inch, but a slightly smaller pan makes for a thicker filling. For a rustic look, skip the edges and let crumbs spill over.
Classic Key Lime Pie
Ingredients
Equipment
Method
- Begin by placing graham cracker crumbs into a food processor and pulse until finely ground. Transfer the crumbs to a mixing bowl and stir in the melted butter until the mixture resembles wet sand. Press this mixture evenly into the bottom and up the sides of a 9-inch pie pan to form the crust. Chill in the refrigerator for 15 minutes while preparing the filling.
- Meanwhile, zest the limes using a microplane, releasing bright citrus aroma, then juice the limes until you have about half a cup of fresh lime juice. In a mixing bowl, whisk the egg yolks until smooth and slightly thickened. Add the sweetened condensed milk and continue whisking until fully combined and smooth.
- Slowly pour the lime juice into the egg mixture, whisking constantly to incorporate. Add the lime zest and whisk until the filling becomes thick and slightly glossy, with a vibrant green hue. Pour the filling into the chilled graham cracker crust, spreading evenly with a spatula.
- Place the pie in the refrigerator and chill for at least 4 hours, preferably overnight, to allow the filling to set firmly. The filling will jiggle slightly when shaken gently but will hold its shape once fully chilled.
- Once chilled, slice the pie with a sharp knife, pressing down through the crunchy crust and smooth filling. Serve cold, enjoying the crisp crust with the tart, creamy interior that melts on the tongue.
Common mistakes and how to fix them
- FORGOT to chill the crust; fix by refrigerating for 30 minutes before baking.
- DUMPED the lime zest; add it early for a more pronounced citrus aroma.
- OVER-TORCHED the crust; cover edges with foil if they brown too fast.
- MISSED blending the filling thoroughly; ensure smoothness to prevent curdling.
Make-Ahead and Storage Tips
- Prepare the crust and bake it a day ahead; keep in an airtight container to stay crisp.
- Assemble and refrigerate the pie for up to 24 hours before serving; flavors meld and set better overnight.
- Filling may thicken slightly overnight, so give it a quick stir before pouring into the crust.
- Freezing the assembled pie is possible for up to a month; cover tightly to prevent freezer burn.
- Refrigerate overnight or until chilled; the tart tang is sharper when cold, with a satisfying firm texture.
- Reheat slices briefly in the microwave if needed, until just warm; the filling should be smooth and not rubbery.
FAQs
1. What does key lime pie taste like?
The pie’s tang is sharp and citrusy, with a velvety filling that sticks to your tongue and a crunchy crust that gives way with each bite.
2. Should I use fresh lime juice or bottled?
Use fresh limes for the brightest, most aromatic zest and juice. Bottled lime juice dulls the vibrant citrus flavor and adds a faint metallic note.
3. How long should I chill the pie?
Chill the pie for at least 4 hours, preferably overnight, so the filling firms up and the flavors meld into a bright, balanced zing.
4. Why is my crust soggy, and how can I fix it?
If the crust is soggy, bake it a couple of minutes longer or brush with a little melted butter before baking to make it crunchier.
5. When is the best time to serve the pie?
Serve the pie cold, straight from the fridge. The filling will be firm and smooth, with a refreshing citrus burst that hits your senses immediately.

Hi, I’m Lucas Foster, the cook, writer, and everyday food enthusiast behind Totally in the Zone. This space is where my love for cooking meets my belief that food should fit into real life. Not rushed. Not overcomplicated. Just thoughtful, satisfying, and made with intention.