Ingredients
Equipment
Method
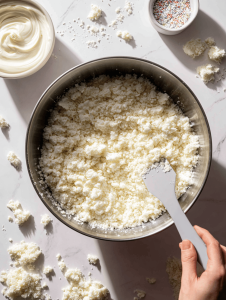
- Place the cake crumbs in a large bowl and mix in the frosting with a silicone spatula until the mixture is crumbly but holds together when pressed.
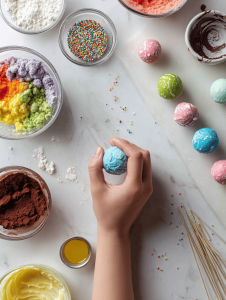
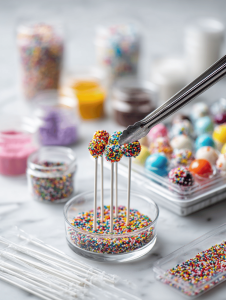
- Use your hands to roll the mixture into small, even balls about one inch in diameter, then set them on a lined tray.
- Chill the cake balls in the refrigerator for at least 30 minutes to firm up, making them easier to coat.
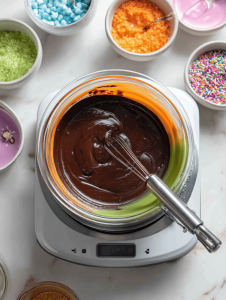
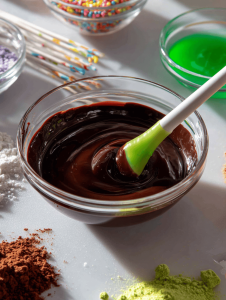
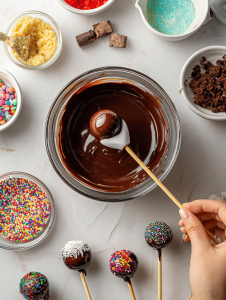
- Meanwhile, melt the chocolate in a heatproof bowl over simmering water, stirring until smooth and shiny. Use a candy thermometer to ensure the temperature stays around 105°F (40°C).
- Allow the melted chocolate to cool slightly, then dip the tip of each cake pop stick into the chocolate and insert it into a chilled cake ball, pressing gently to secure.
- Place the decorated cake balls back on the tray and freeze for another 30 minutes to ensure they are firm before coating.
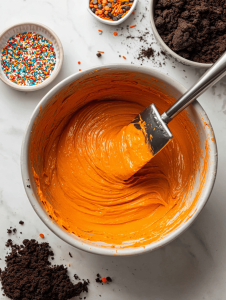
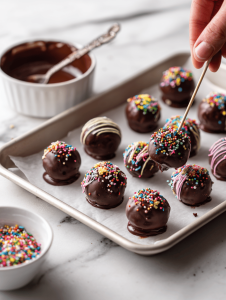
- Reheat the remaining chocolate if needed, then divide it into bowls and stir in food coloring and sprinkles for spooky effects.
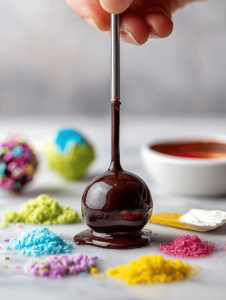
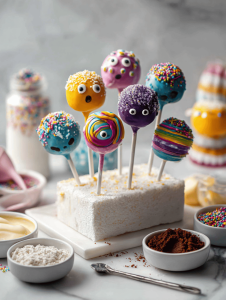
- Dip each frozen cake pop into the colored chocolate, swirling gently to cover completely, then place on a Styrofoam block to set.
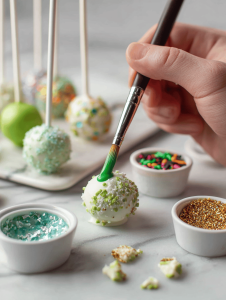
- Use a small paintbrush to add edible glitter or detailed decorations for creepy eyes, mouths, or other spooky features.
- Allow the decorated cake pops to set completely at room temperature or in the refrigerator, about 15 minutes, until the coating is firm and shiny.
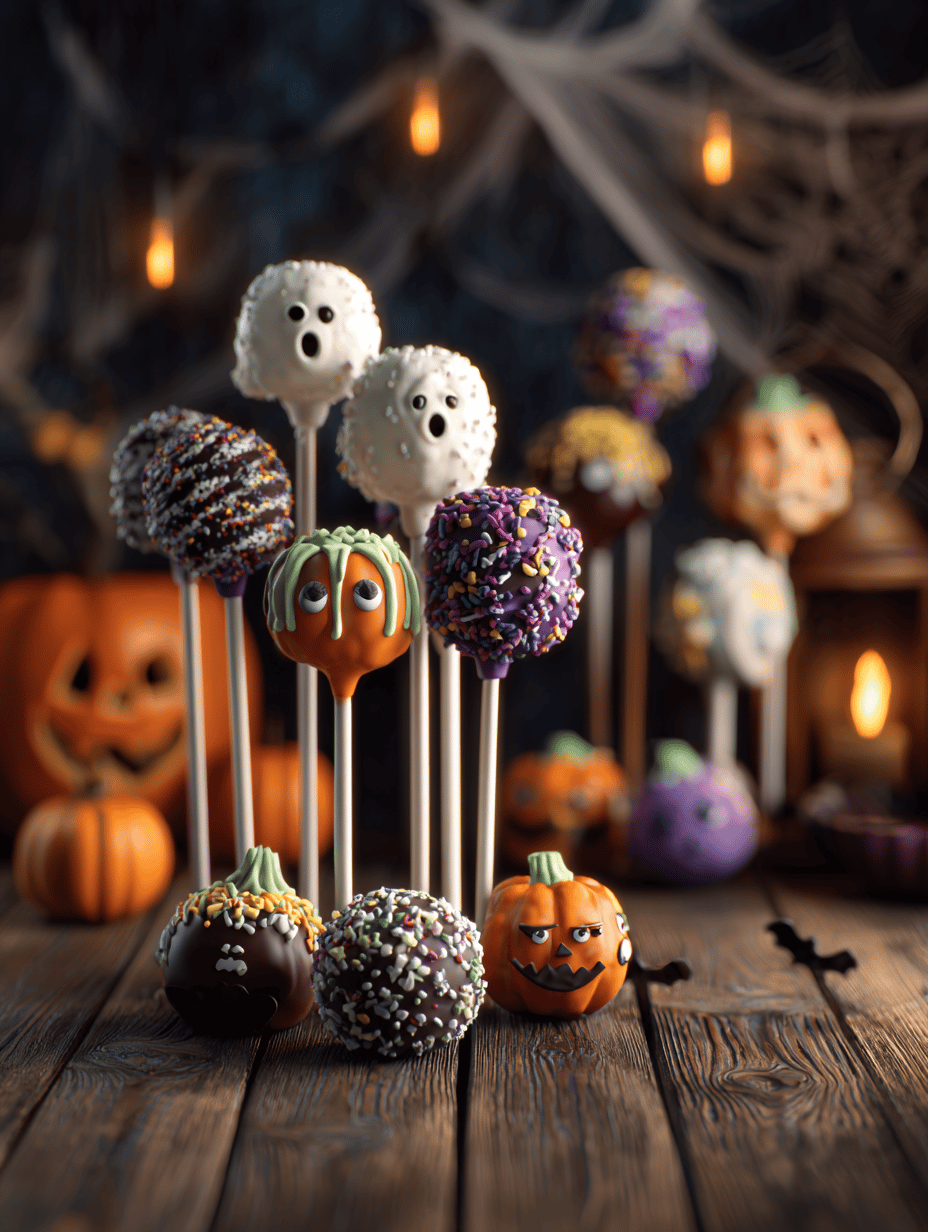
- Once set, display your creepy creations on a platter or in a fun container, ready to delight at your Halloween gathering.
Notes
For extra spooky effects, use black or green food coloring, add small edible eyes, or create textured details with different decorating tips.