Ingredients
Equipment
Method
- In a mixing bowl, combine the softened cream cheese, shredded cheddar, Worcestershire sauce, garlic powder, and paprika. Use a spatula or spoon to mix until the ingredients are thoroughly blended into a smooth, uniform mixture.
- Transfer the cheese mixture onto a piece of plastic wrap. Using your hands, shape it into a compact ball. Wrap it tightly with plastic wrap and refrigerate for at least 30 minutes to help it firm up.
- Once chilled, unwrap the cheese ball and roll it in crushed pretzels to coat the outside evenly, giving it a crunchy texture and a rustic appearance.
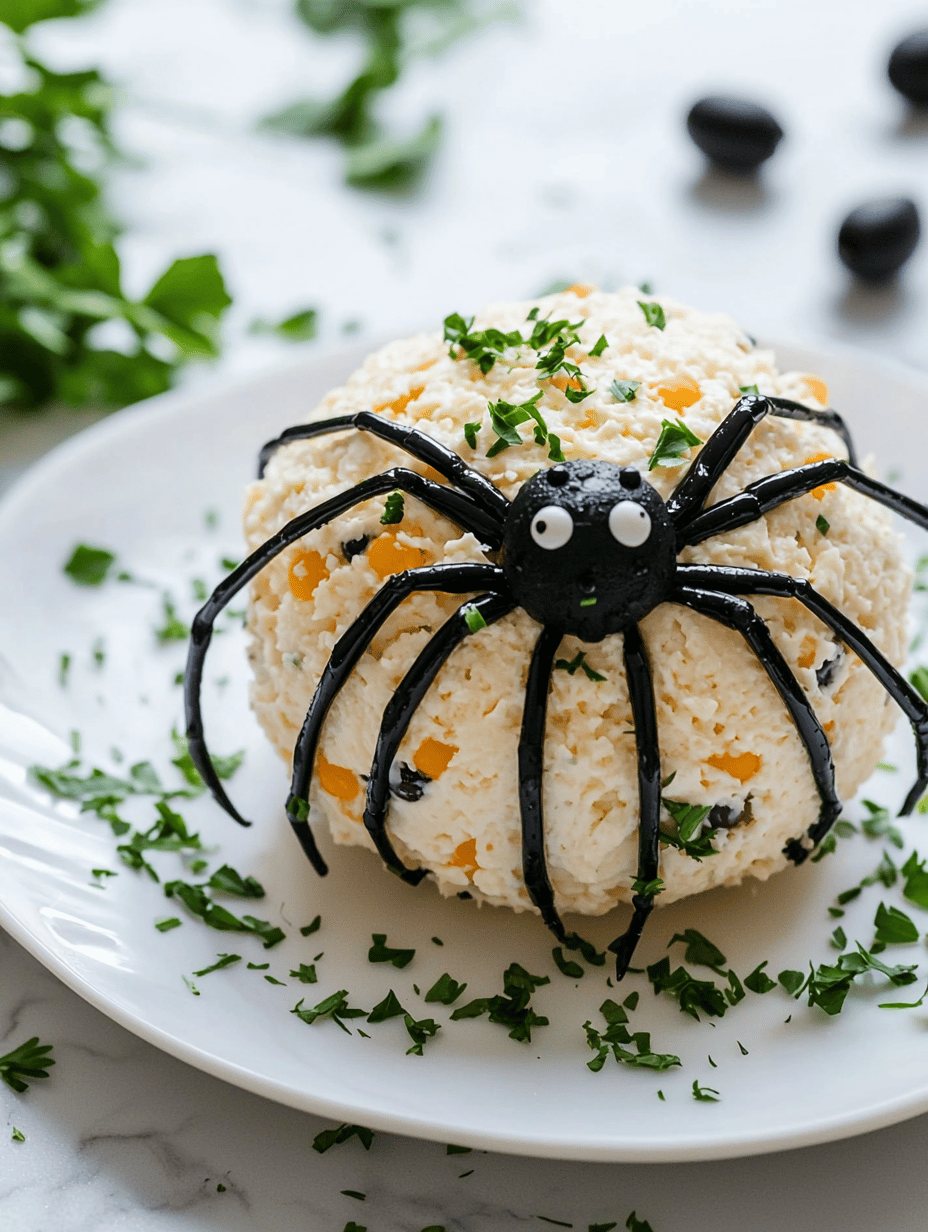
- Place the pretzel-coated cheese ball on a serving platter. Use a small knife to carefully carve out eight spider legs from black olives, pressing them into the sides of the cheese ball to resemble spider legs.
- Cut two black olives in half to create the spider's eyes. Attach these to the top of the cheese ball with small pieces of vegetable or additional cheese if needed, positioning them as eyes.
- Arrange chopped vegetables and other optional decorations around the cheese ball to enhance the spooky, playful look and provide accompaniments for serving.
- Once everything is decorated and arranged, refrigerate the Spider Cheese Ball until ready to serve. It should be firm and visually striking, ready to be the centerpiece of your Halloween spread.
- Enjoy slicing into the cheese ball to reveal its smooth interior and crunchy exterior, making for a fun and tasty Halloween appetizer.
Notes
For added flair, consider using red pepper strips for spider webs or additional food-safe decorations. Keep the cheese ball refrigerated until serving to maintain its shape and freshness.